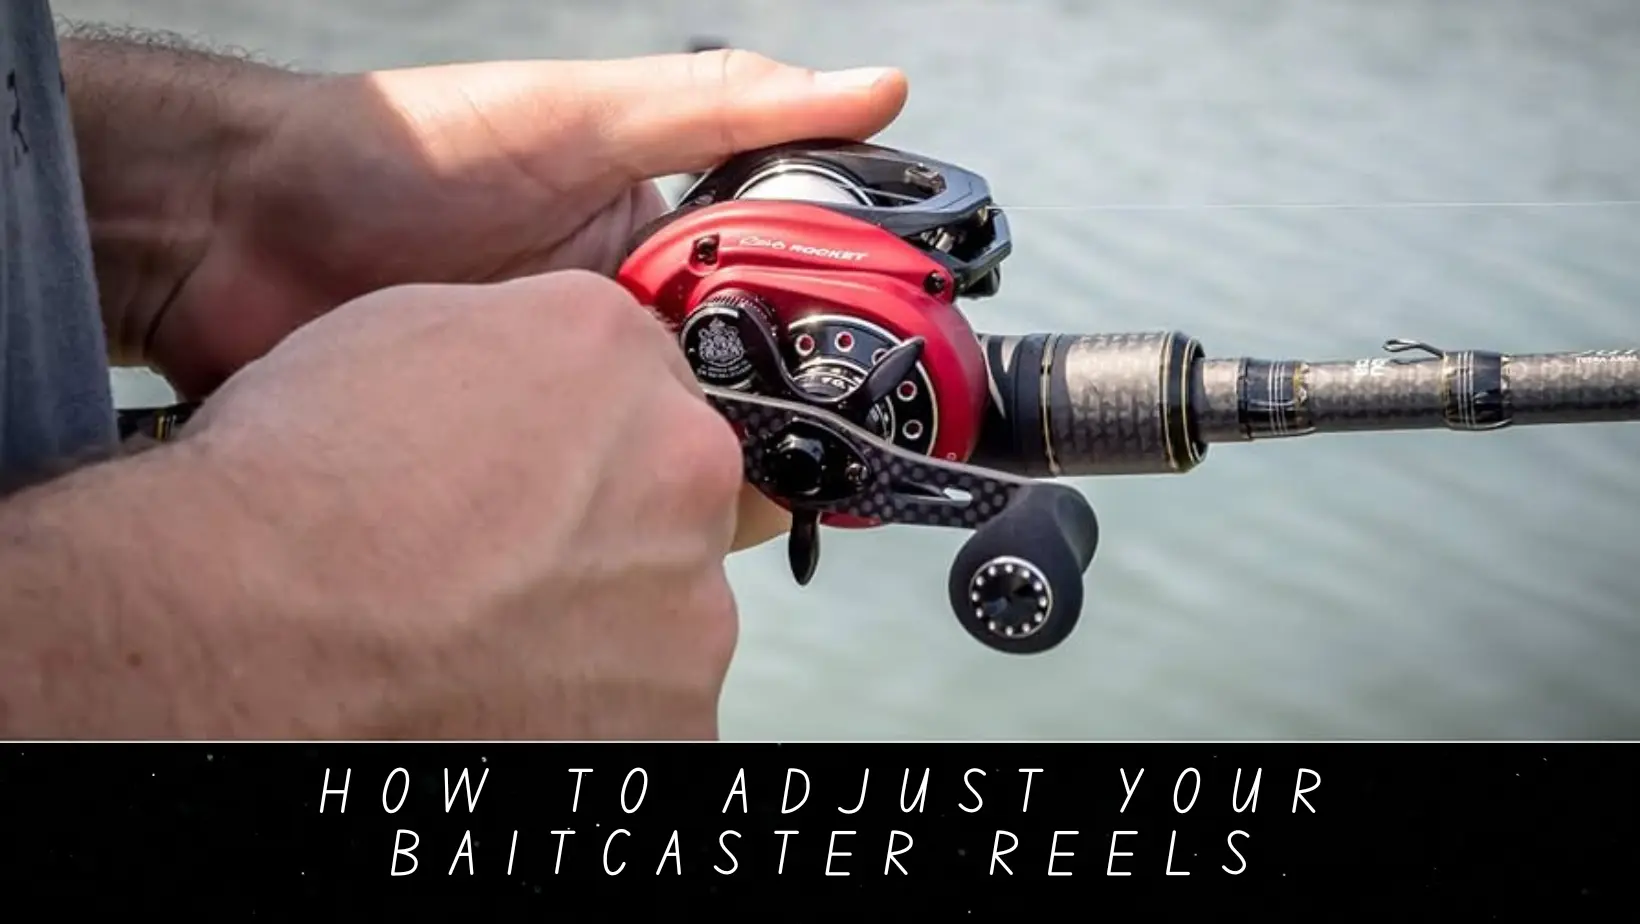
Baitcasting reels are a favorite among seasoned anglers for their precision and control. However, they can be a bit tricky to handle, especially for beginners. Learning how to adjust a baitcasting reel is a crucial skill to ensure a smooth fishing experience. In this guide, I will take you through the steps to adjust your baitcasting reel like a pro.
Why Adjusting Your Baitcasting Reel Matters
Before diving into the adjustment process, it’s essential to understand why adjusting your baitcasting reel is so important. Proper adjustment can help you achieve:
1. Longer Casts: Correctly adjusted baitcasting reels can cast your lure farther, increasing your chances of reaching the fish.
2. Minimal Backlashes: Backlashes, also known as “bird’s nests,” can be a nightmare for anglers. Proper adjustments prevent these tangles in your fishing line.
3. Precise Control: Adjusting your reel allows you to have precise control over the speed and distance of your lure, making it easier to target specific fish.
4. Reduced Line Wear: Properly adjusted reels reduce friction on your fishing line, extending its lifespan and saving you money on replacements.
Now that you understand the importance of adjusting your baitcasting reel, let’s dive into the step-by-step process.
Step 1: Familiarize Yourself with Your Reel
Before making any adjustments, it’s crucial to get to know your baitcasting reel. Every reel has different components and settings, so read the user manual that comes with your reel to understand its features. Pay attention to:
Tension Knob: The baitcaster reel tension knob is a control located on the reel’s side plate that adjusts the spool’s initial resistance to rotation, helping prevent line overruns or backlash during a cast. Anglers fine-tune this knob to match their lure weight and casting preferences.
Brake System: A baitcaster reel’s braking system, typically employing centrifugal and magnetic components, regulates spool rotation during casting, preventing backlash and ensuring controlled line release for accurate and tangle-free casts. Anglers can adjust these settings to suit different fishing conditions and techniques.
Drag System: A baitcaster reel’s drag system uses stacked washers or discs to create controlled friction on the fishing line, allowing anglers to prevent line breakage while reeling in fish. It’s adjustable to match the fish’s size and strength.
Related Article : Best Baitcaster Under 200
Step 2: Set the Tension Knob
The tension knob is your first line of defense against backlash. Here’s how to set it:
1. Begin by releasing the spool’s tension completely (turn the knob counterclockwise).
2. With the lure attached, hold your rod at a 45-degree angle.
3. Slowly turn the tension knob clockwise until you feel slight resistance.
4. The lure should descend slowly and smoothly when you release the thumb bar. If it falls too quickly or doesn’t fall at all, make further adjustments to the tension knob until it’s just right.
Step 3: Adjust the Brake System
Adjusting a baitcaster reel’s braking system involves fine-tuning both centrifugal and magnetic brakes to achieve optimal casting performance. Here’s a general guide:
Centrifugal Brakes
- Open the Side Plate: First, locate the side plate on the reel (usually with a “Brake” or “Access” label) and open it to access the brake system.
- Adjust Brake Pins: Inside, you’ll see brake pins or tabs. To increase braking, engage more pins (push them outward); to reduce braking, disengage some pins (push them inward). Start with all pins engaged for maximum braking.
Magnetic Brakes
- Locate the Magnetic Control: Find the external knob or dial labeled for magnetic control on the reel’s outer side.
- Adjust Magnetic Strength: Turn the knob clockwise to increase magnetic braking, and counterclockwise to decrease it. Start with higher magnetic strength for more control and reduce it gradually as needed.
Fine-Tuning
- Test Cast: After making adjustments, practice casting in an open area. Evaluate the line release, distance, and potential backlash.
- Repeat Adjustments: If you experience backlash or the cast doesn’t meet your expectations, continue adjusting both centrifugal and magnetic brakes until you achieve the desired performance.
- Practice: Keep practicing with different lures and conditions to become proficient at adjusting your baitcaster reel for various situations.
Remember that the ideal settings may vary based on the weight of your lure, line type, and personal casting style, so it may take some trial and error to find the perfect balance.
Related Article : Best Baitcaster Under 100
Step 4: Adjust the Drag System
Adjusting the drag system on a baitcaster reel is important to ensure it matches the size and strength of the fish you’re targeting. Here’s how to do it:
- Locate the Drag Knob: Find the drag adjustment knob, usually located on the top or front of the reel.
- Loosen the Drag: To decrease the drag resistance, turn the knob counterclockwise. This allows the fishing line to pull out more easily when a fish is fighting.
- Tighten the Drag: To increase drag resistance, turn the knob clockwise. This adds more pressure on the line, making it harder for the fish to pull it out.
- Test the Drag: Before fishing, test the drag by pulling on the line with your hand to get a sense of the resistance level. It should be set according to the fish species you expect to catch.
- Fine-Tune While Fishing: Adjust the drag during fishing as needed. When you hook a fish, you can increase or decrease the drag based on the fish’s size and fighting strength. This prevents the line from breaking while giving you control over the battle.
Always ensure that your drag settings are appropriate for the fishing situation, as using too much or too little drag can result in lost fish or broken lines.
Step 5: Practice
Adjusting your baitcasting reel is not a one-time task but an ongoing process. The more you practice, the better you’ll become at fine-tuning your reel’s settings to suit different lures, casting techniques, and environmental conditions.
Frequently Asked Questions
Why Is Drag In Fishing So Important?
Drag in fishing is crucial because it serves several vital purposes:
- Prevents Line Breakage: Drag allows the fishing line to release gradually when a fish pulls, preventing the line from breaking under sudden tension.
- Tires Out Fish: Properly adjusted drag tires out the fish by making it work against resistance. This helps in landing the fish more efficiently and reducing the risk of it escaping.
- Control and Hook Sets: Drag provides control during the fight, allowing the angler to maintain tension on the fish while preventing it from making sudden runs that can lead to line breakage. It also helps set the hook securely when a fish strikes.
- Adaptable to Different Species: Drag systems can be adjusted to match the size and strength of the fish species being targeted, ensuring that the line can handle the stress of the fight.
- Prevents Reel Damage: Without drag, the reel’s internal components, such as gears and bearings, could be damaged when a powerful fish takes the line abruptly.
Drag is a critical component in fishing because it not only safeguards the fishing line but also provides the angler with control and flexibility when dealing with fish of varying sizes and behaviors. Properly adjusting the drag system is essential to maximize fishing success and prevent gear damage.
How Do I Know If My Drag Is Set Correctly?
Determining if your drag is set correctly involves a combination of experience, observation, and testing. Here’s how to know if your drag is appropriately adjusted:
- Feel the Resistance: Before heading out to fish, pull the line with your hand to get a sense of the resistance. It should feel strong enough to prevent line breakage but not so tight that it won’t release when a fish pulls.
- Test During Hooksets: When you hook a fish, pay attention to the initial runs and surges. If the fish is able to take line without much effort, your drag may be too loose. Conversely, if the line consistently breaks during hooksets or the fish can’t make any runs, it may be too tight.
- Monitor Line Release: While fighting a fish, observe how the line releases from the reel. It should come off smoothly, allowing the fish to make runs while still maintaining tension. If the line jerks or doesn’t release, it could indicate an incorrect drag setting.
- Listen for Clicks: Some reels have audible clickers that make noise when line is pulled out. Listen for the clicks, as they can provide feedback on the line release and help you gauge the drag’s effectiveness.
- Adjust as Needed: During fishing, be prepared to adjust the drag as the situation requires. If a fish is too powerful and the line is at risk of breaking, loosen the drag slightly. If the fish isn’t putting up much resistance, you can tighten it a bit to make the fight more challenging.
- Learn from Experience: Over time, as you gain experience with different fish species and reel setups, you’ll develop a better feel for how to adjust the drag optimally for various situations.
Ultimately, finding the correct drag setting is a balance between preventing line breakage and allowing the fish to put up a good fight. It may require some trial and error, but with practice, you’ll become more adept at adjusting the drag to suit your specific fishing needs.
Final Thoughts
Mastering the art of baitcasting requires patience and practice. By following these steps to adjust your baitcasting reel correctly, you’ll experience fewer backlashes, longer casts, and greater precision in your fishing endeavors. So, grab your reel, hit the water, and start honing your baitcasting skills today.


